Paint Shop Pro Tutorial - How to make picture tubes
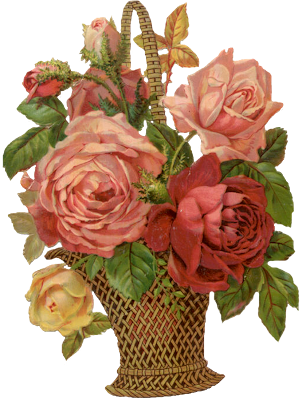 Picture tubes is one of my favorite tools, and now I show how to make them, actually that very easy, more difficult is cut the images out of the background. But here is now a ready cut flowers for you to try. Right click the flower basket and copy it to your computer, or you can of course use something else. But I show now the easy steps...
 1. Go to layers and open New Raster Layer
 2. Click OK this defauld window
 3. Go to Merge, then choose Merge Visible
 4. Go File > Export > Picture Tubes
 5. Use these default setting and give name for you Tube. Click OK, and you have a new Picture Tube ready to use.
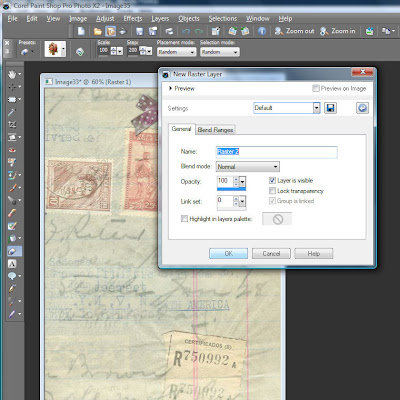 If you want now to use your picture tube, I recommend first add a new layer, cause if you add a picture tube straight to the background, it's on the same layer than background. Therefor you can't edit the tube, but if you have it on the other layer, you can do what ever you want with it.
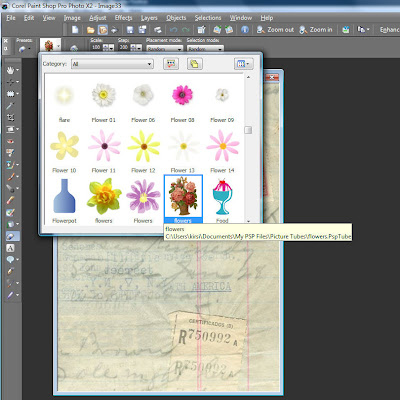 So now you can choose your picture tube, you can easily scale to right size from 10% to 250%.
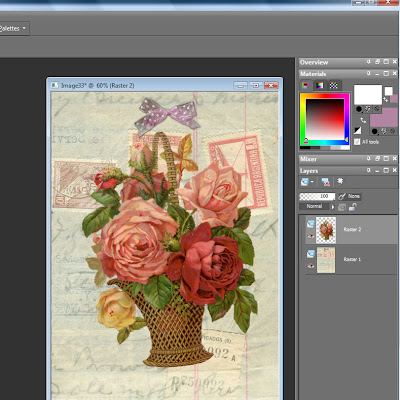 And now, when you have the picture tube on it's own layer, you can edit it.
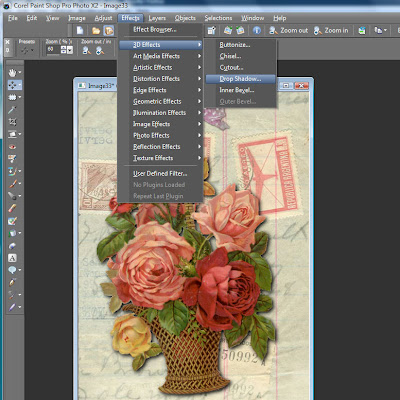 You can for example add drop shadow, or anything you like.
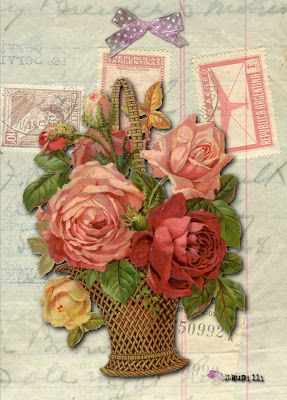 Here is now a simple sample, but now only your imagination can limit the possibilities to use picture tubes.
I know, my instructions are always funny, cause my English is so limited. If you don't understand something or want to know more, feel free to ask.
Subscribe to:
Post Comments
(
Atom
)


No comments :
Post a Comment