Paint Shop Pro tutorial How to use .png files
 I'm really happy to see how many of you have find the fascinating world of digital art. I started about 4 years ago. My children helped me in the beginning, cause I had no idea what to do. But I got so hooked from the very first trial, that I wanted to learn more and more. And I'm happy to share some of my knowledge with you.
This time I want to show, how practical .png files are. You can use ready made files, like my digital design kits, which I've designed specially for digital working. Or there is of course lot of more available. Or you can make your own files.
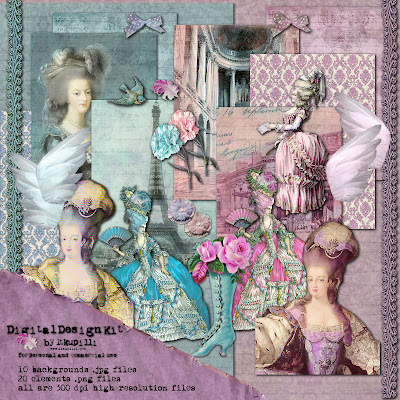
But here I used my Digital Design Kit Marie Antoinette Turquoise and Pink as an example.
 First you pick the images you might want to use. Files in .png format are so easy to use, cause they have transparent backgrounds.
 Then you copy the chosen image.
 And paste it as a new layer to the chosen background.
You can edit now the image, add for example drop shadow.
 Same way you can add more images, and if you need to scale them to fit better, the pick tool is very practical, you can also turn images with it.
 After you add more images, you can arrange the order of the images.
 And until you still have all image on their own layers, you can adjust then individually. You can change colors, sizes order. Or you can add special effects. Try new things, there is endless possibilities.
 Here is my result. I wanted to play with colors and with some of my favorite special effects.
Feel free to ask, if you want to know more, but best way to learn is to try everything.
Subscribe to:
Post Comments
(
Atom
)


No comments :
Post a Comment