Paint Shop Pro Tutorial - Coloring the image
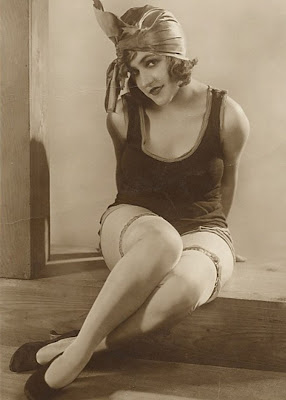 I will show now, how I usually do the coloring.
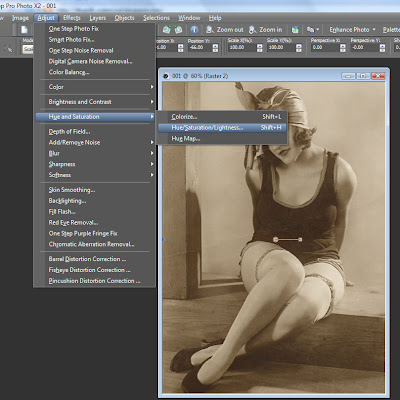 First I want to decrease saturation a little bit.
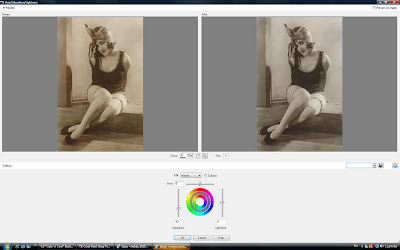 I use this saturation/hue/lightness tool quite much. There is many other tools you could do the same thing, but I like this.
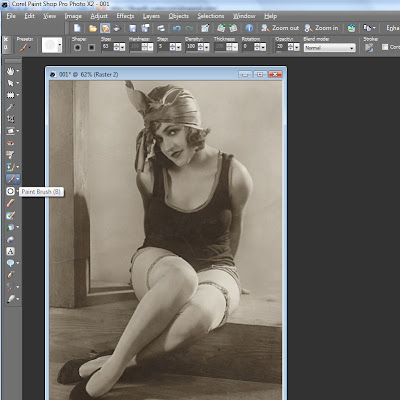 Next I take a paint brush.
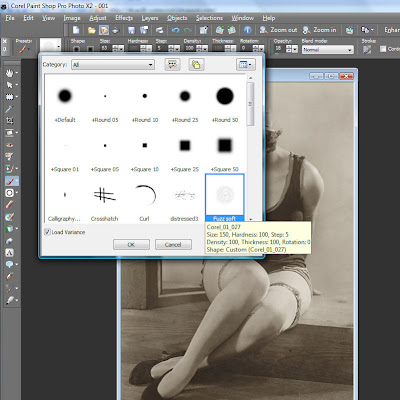 And choose the fuzzy soft head.
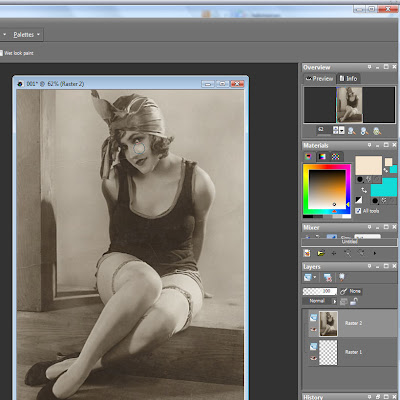 Then I choose the color I want to add. I put the opacity very low, usually I use it between 8 - 18 %. I want to use very thin layers of the color, the brush stroke become much more smooth.
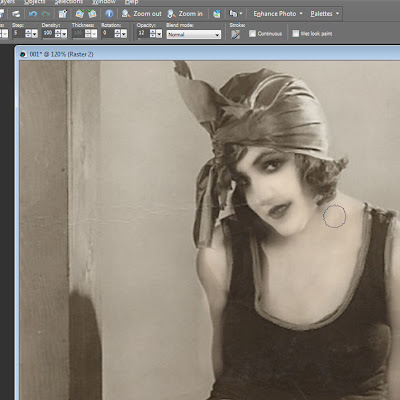 Usually I do first the skin color, little by little.
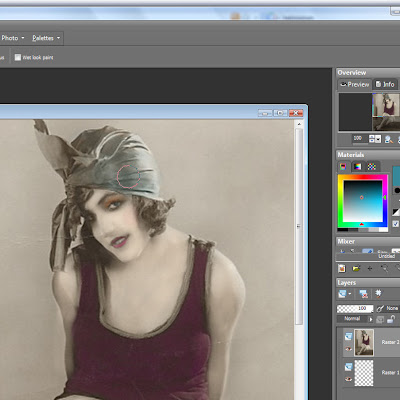 Then I use the other colors, but also very thin coat.
 Later, when I've finished the coloring, I usually add more saturation, or sometimes I might diminish color from some parts. And once more little by little with low opacity. This tool is great, when you want just adjust some parts of the image.
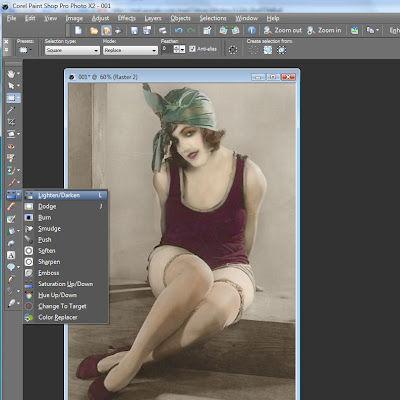 And sometimes I want to darken or lighten some details.
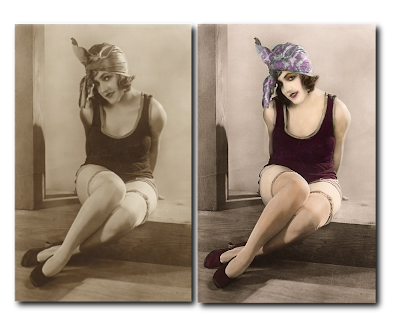
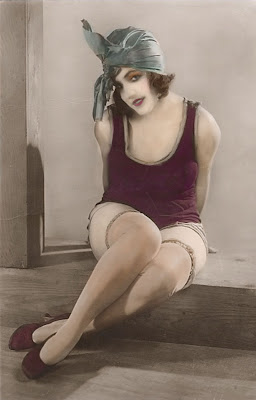 Here is now the ready colored image.
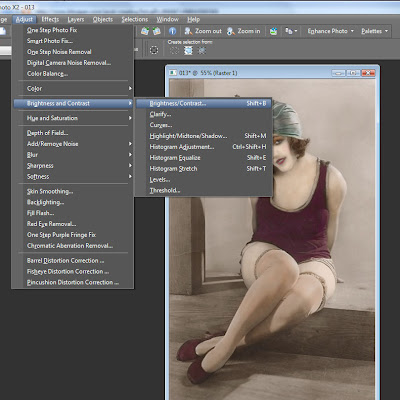 I wanted to add this time more contrast to it. If you want to adjust the whole image, you find really useful tools from these adjust tools. You can adjust color balance, contrast, saturation, hue etc.
This is now the final result, but maybe I could add one more cool detail...
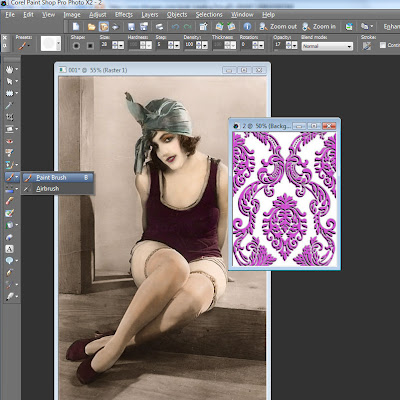
I open the new image, this time a damask pattern, and I choose the paint brush again.
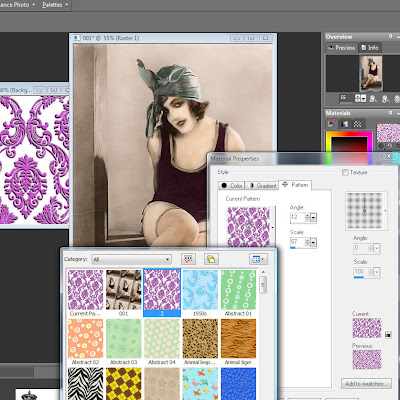 But this time, instead of the solid color, I choose to use pattern.
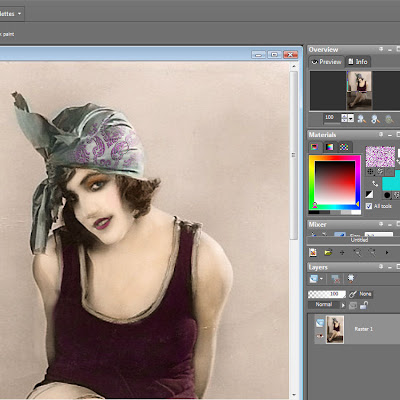 I start coloring the bandana, once more little by little, and I vary the scale and the angle to get the look natural.
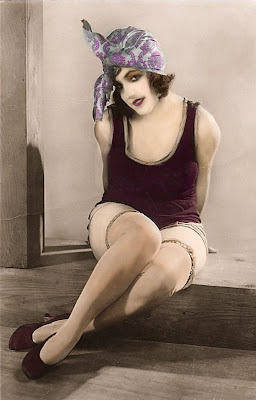 Ok, this is now enough. If you have anything to ask, please do, I'm happy to answer to any questions.
Subscribe to:
Post Comments
(
Atom
)




No comments :
Post a Comment